Saturday 22 September 2018

Close the Door


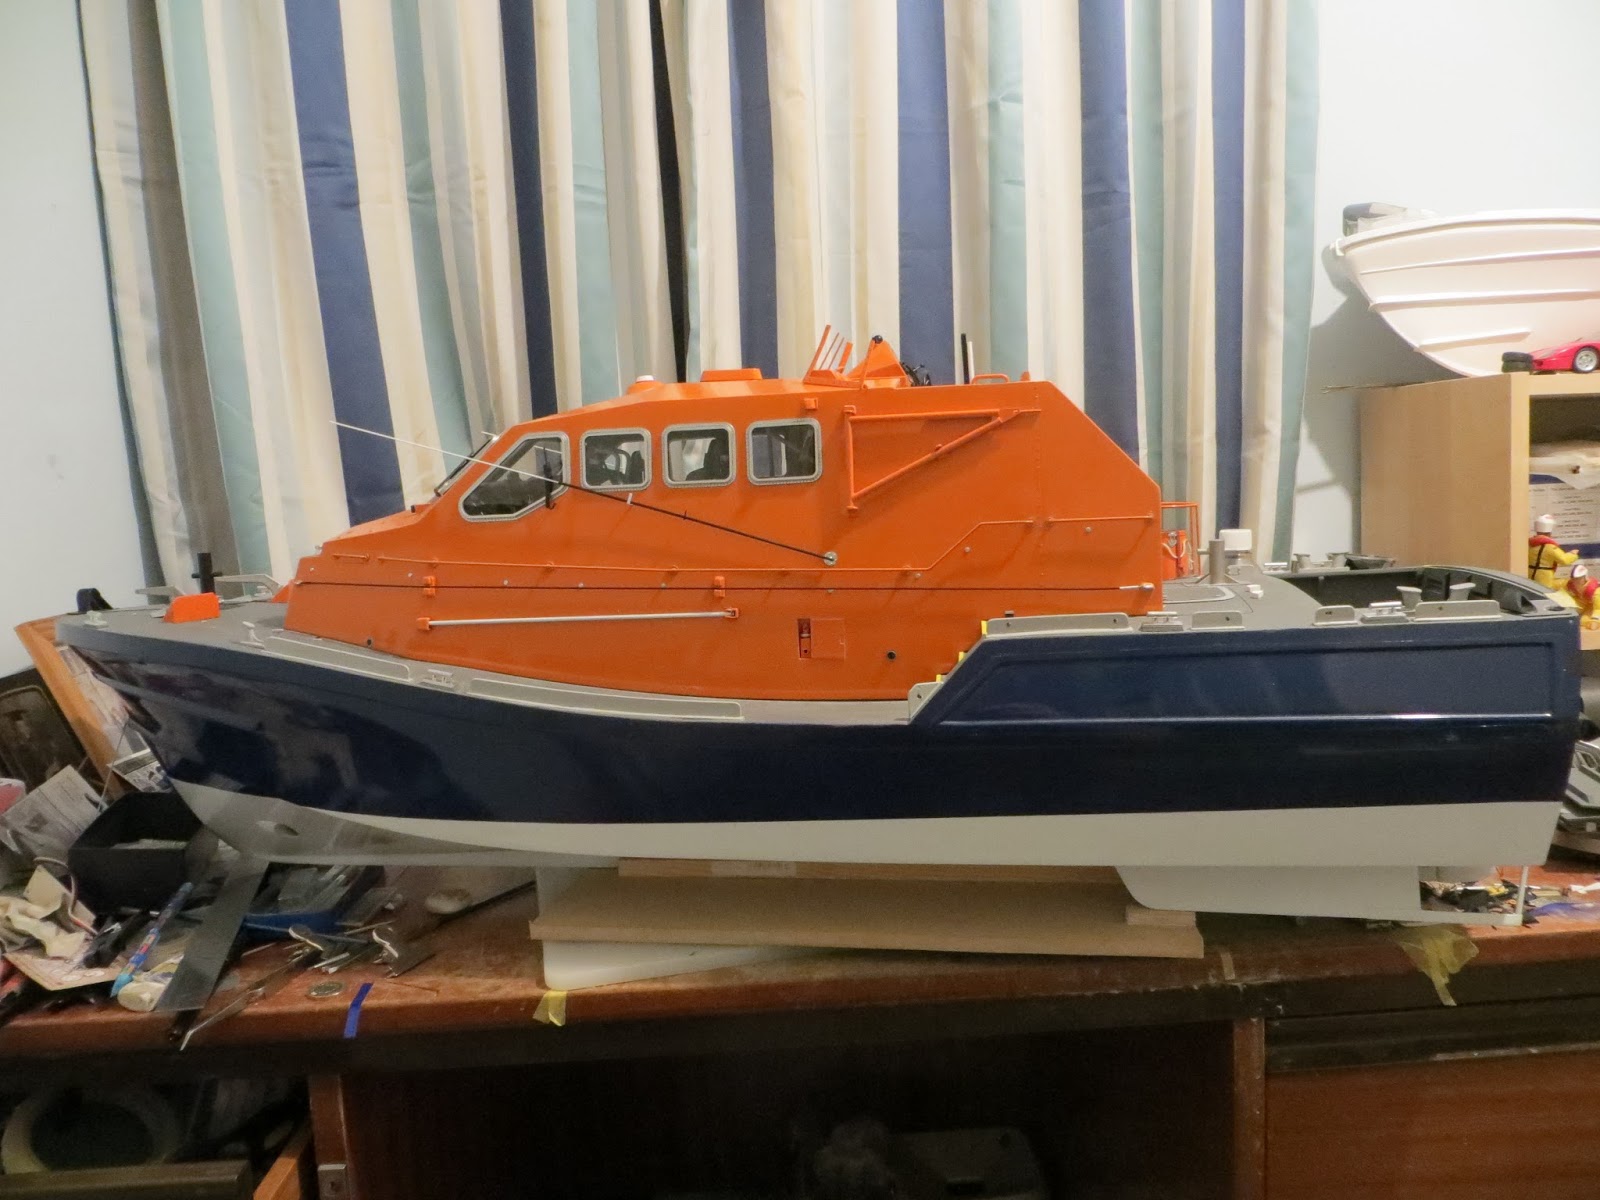
I have been making progress and after too many years, I've nearly finished my Tamar.  One of the biggest tasks recently has been getting the transom door opening mechanism working, and also the mast lifting mechanism.

The transom door was first and now works.  It's operated by a sailing arm servo, attached to a square brass tube to which the 'hydraulic' rams attach.  The rams rum through the square tube and are adjustable at that end.  I had initially considered trying to also fit dummy hydraulic cylinders to but that would have been very complicated and they're inboard anyway so barely visible.

This is the mechanism


...and this is the door in operation.

The deck hatches are also on.  I used miniature hinges rather than the kit parts.  The hatches were heated and shaped to the deck curvature before cutting into the four parts.  the next job here is to make hinges to attach the moving 'bridge' piece that spans the gap between the boat and open transom door.

Saturday 18 August 2018

A long time coming

I'd forgotten just how long it's been since I posted!  After a long time getting frustrated about just how inconsistent my spray painting must be, I've finally got a decent finish on the wheelhouse.  So that's meant I've spent the autumn and winter attaching the fittings.

This is where I've got to;


There's still a lot to do.  I need to remake the mast hinges because the plastic ones I made aren't up to the job.  The replacement brass tube one I made also failed.  So, these will be made from brass square milled down to the correct section and then pinned in place.

Next on the agenda is the fendering...

Wednesday 11 April 2018

Radar Love

[I wrote this post ages ago but for some reason didn't post it!!!]

I've now finished the radar.  I had several suggestions from others who have built a Tamar but decided to stick with my original plan!  It's a little overcall and not 100% accurate but it'll do me.

It tool a few attempts to get right.  My first go ended up being too small for the motor,  the second too big and the final one is a little tight but does the job.  It will come apart to get the motor out but hopefully that won't ever be necessary as I'm not sure the box would stay in one piece...

It's all made with plasticard though I used filler for the front and rear faces of the bottom half.  As I needed to use thin plasticard, I hoped that using filler would let me round the edges and it worked though the filler may not survive taking it apart in future.  The arm is square plastic tube with half round styrene rod.

So here's the line up of the base parts:


And the finished item.