So the bow thruster is now epoxyed in place - no going back now! I've been busy working on the stern of the hull with the running gear openings. These are now all roughly to size so the next big task is to align the prop shafts. This photo shows how I'm getting on with prop shafts and bilge keels placed but not glued in place.
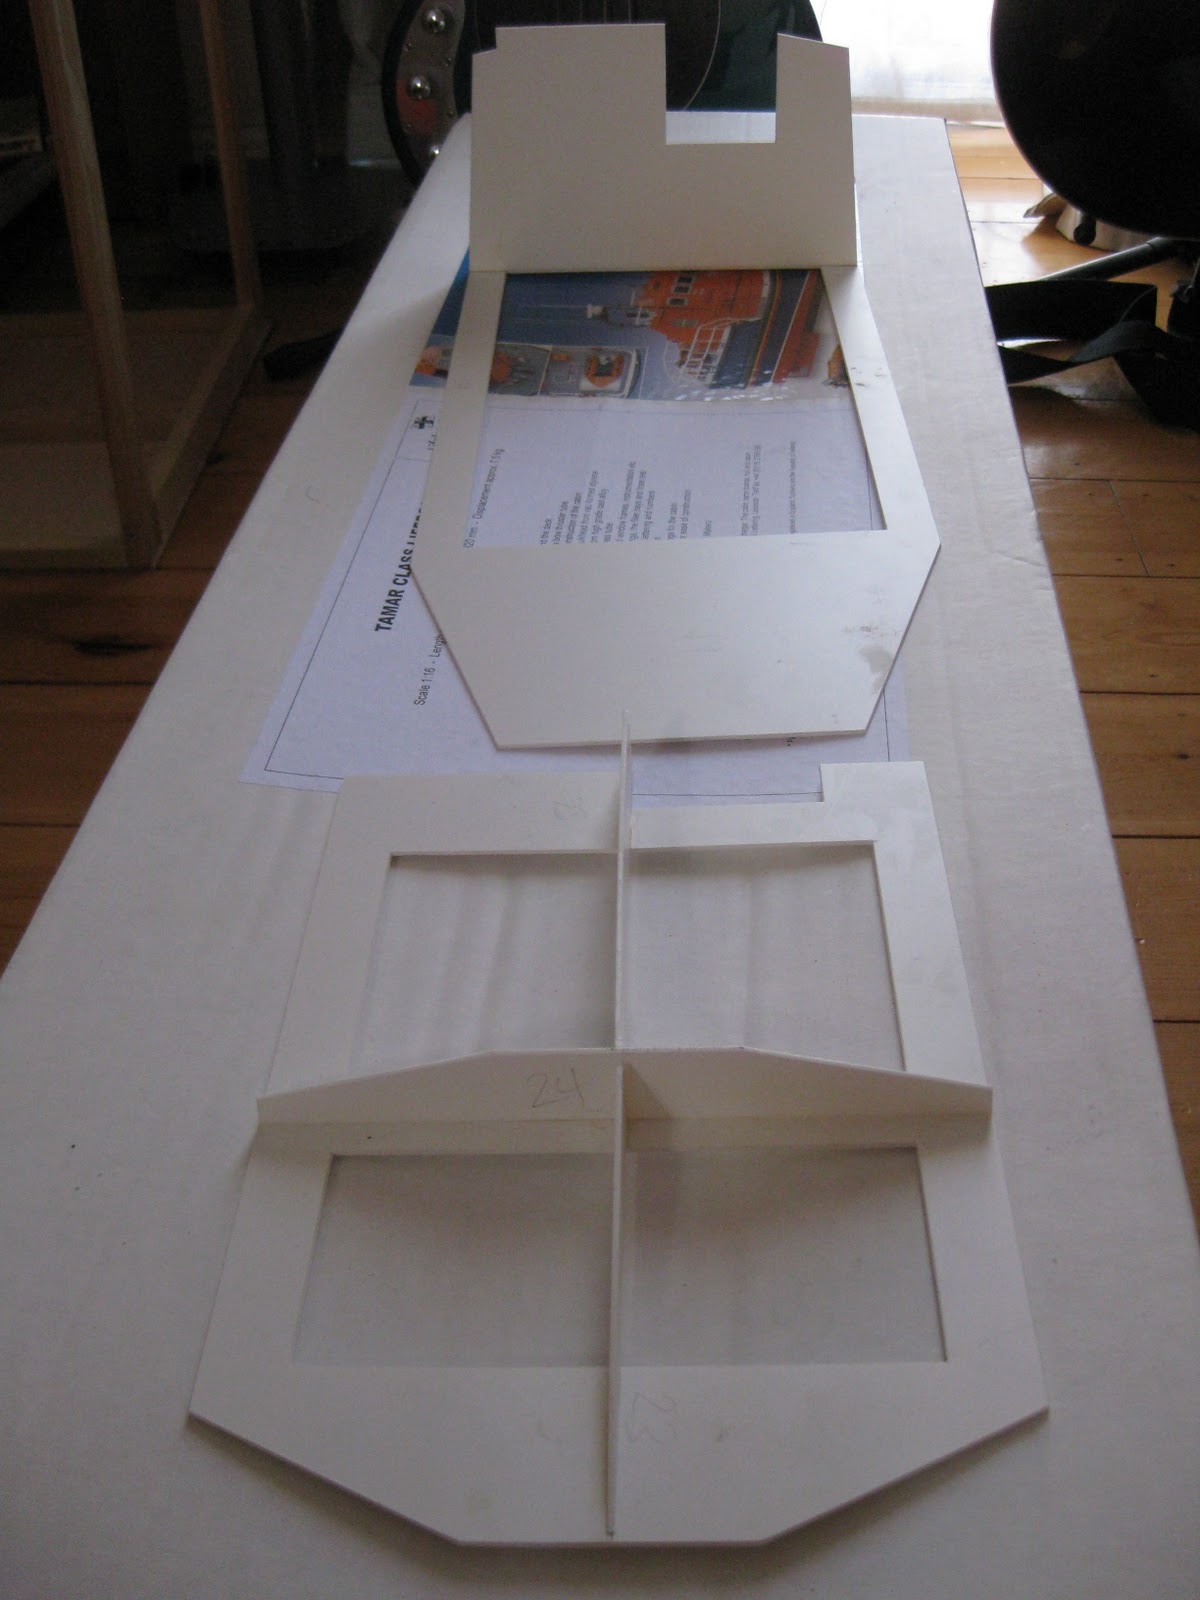
I've also started work on the slipway/tow shoe/keel extension using the kit parts as a template. There are a few mods to be made between the kit and the boat I'm building in this area but all are, hopefully, straightforward. The next photo shows the start of this; each side is 1mm styrene with 3 lengths of the supplied plastic strip between. I'll fill the middle with P38. I considered just making up up with several layers of styrene but thought that would be harder work!
Next up are the rudders...
Wednesday, 4 January 2012
Monday, 19 December 2011
Bow Thruster
Over the last couple of weeks, inbetween moving house, I've been attempting to fit the bow thruster to the Tamar hull. Despite the template in the instructions, I've made this much more difficult than it should have been, hence no photos yet, I want to get it sorted before showing my mistakes! Somehow, I couldn't get the tube straight and had to greatly enlarge on of the holes in the hull. Still with the advice Model Slipway have given and some luck it ought to be ok. I might still need to be a little creative with the waterline/boot topping though!
On a more positive notes, the mounting plates for the Trent trim tabs have been machined;
I'm very pleased with how they've come out, I just need some 1mm brass wire for the hoopsnow; I couldn't get a consistent shape with steel wire. I'm confident the ram assemblies will look pretty good once finished.
Next time I should be posting about how the bow thruster saga ends!
On a more positive notes, the mounting plates for the Trent trim tabs have been machined;
I'm very pleased with how they've come out, I just need some 1mm brass wire for the hoopsnow; I couldn't get a consistent shape with steel wire. I'm confident the ram assemblies will look pretty good once finished.
Next time I should be posting about how the bow thruster saga ends!
Tuesday, 29 November 2011
Tamar Beginnings
I know the Trent's not quite finished but I've begun building the Tamar. Well, I'm still waiting for some bits from Squires and the trim tabs are still in development.
First up, I built 2 of the wheelhouse formers: the cabin floor and rear bulkhead and the roof former. I wanted to push on before working on the hull but really that's as as I can get on the wheelhouse until the deck is on the hull. But that means thinking about how I'm going to make the transom door operate and that's too much for my brain at the moment!
So, I thought I may as well get on with the hull and hope transom door inspiration comes my way. So it's on with the first wave of deck supports and hull openings. The hull openings have been chain drilled for the prop shafts, rudders, bilge keels and, using the very handy templates in the instructions, for the bow thruster. Some of the measurements, especially for the prop shafts were not easy to mark up given the hull shape but all done in rough, lots of filing to come....
First up, I built 2 of the wheelhouse formers: the cabin floor and rear bulkhead and the roof former. I wanted to push on before working on the hull but really that's as as I can get on the wheelhouse until the deck is on the hull. But that means thinking about how I'm going to make the transom door operate and that's too much for my brain at the moment!
So, I thought I may as well get on with the hull and hope transom door inspiration comes my way. So it's on with the first wave of deck supports and hull openings. The hull openings have been chain drilled for the prop shafts, rudders, bilge keels and, using the very handy templates in the instructions, for the bow thruster. Some of the measurements, especially for the prop shafts were not easy to mark up given the hull shape but all done in rough, lots of filing to come....
Wednesday, 2 November 2011
It's all in the Detail Pt3
I know, I know, it's been too long since I last posted but things have been a little hectic as I'm moving house. However, I have started work on the Tamar, albeit several months later then planned before packing it up. Pics of the initial hull work will be up in a post soon.
Anyhow, back to the Trent. The trim tab mounts are nearing completion and were looking good last time I saw them. Thank goodness I have a friend with a milling machine!
So, to the final catalogue of my mods to the boat, this time focussing on the stern and flybridge:
18 modified the flybridge rails slightly (also hope to add small storage nets on either side soon-ish)
19 added the radio handsets and boxes
20 added the searchlight storage boxes - behind the helm's backrest
21 reshaped the liferaft frames
22 modified the X boat box to the newer larger size
23 added the XP boat motor under the step - I will also scratch build the emergency tiller shortly which is stored in the same place
24 modified the engine room escape hatch to the current flatter design
25 built the recesses for the exhaust outlets and added oil overflow pipes
26 added the trim tab supports - I'll post about the trim babs once they are finished
27 reshaped parts of the supports on the stern rail and added fenders which were kindly molded for me, along with the lifebelts by a friend from my local boat club
Wednesday, 21 September 2011
It's all in the detail - pt2
So, it's time to run through the next batch of modifications I made
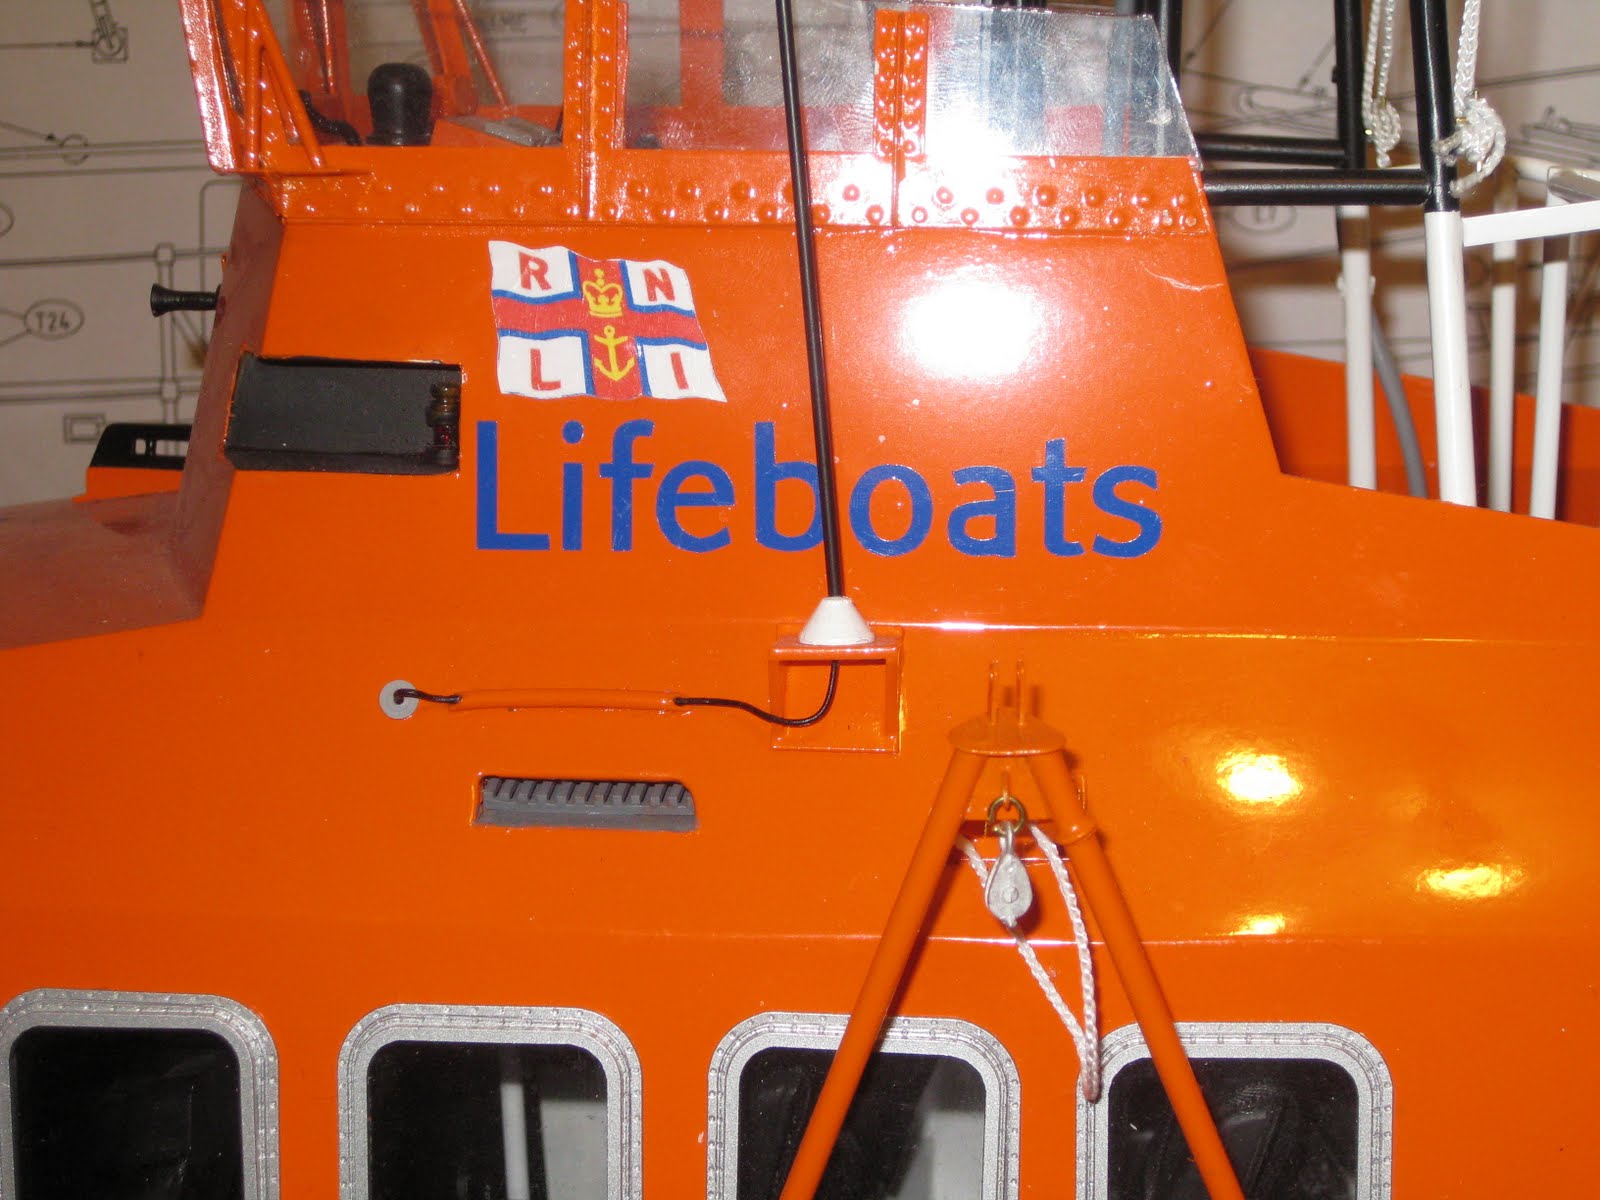
9 - added a small box in front of vents 5 and 6 on the wheelhouse side
10 - put domes inside the vent boxes. These are just rubber feet sprayed gloss white
11 - added the sockets on the wheelhouse sides by the side steps
12 - added the conduit for the whip aerial leads
13 - changed the aerial arrangement on the mast and added new aerials
and inside the wheelhouse
14 - added the bars inside the front windows
15 - scratch built the switch panel by the radio operator and added handsets on the radio panel
16 - put seat belts on all crew seats and
17 - modified the grab rails
Next time, I'll finish off by looking at the stern and by then, hopefully the carrying box will be finished.
9 - added a small box in front of vents 5 and 6 on the wheelhouse side
10 - put domes inside the vent boxes. These are just rubber feet sprayed gloss white
11 - added the sockets on the wheelhouse sides by the side steps
12 - added the conduit for the whip aerial leads
13 - changed the aerial arrangement on the mast and added new aerials
and inside the wheelhouse
14 - added the bars inside the front windows
15 - scratch built the switch panel by the radio operator and added handsets on the radio panel
16 - put seat belts on all crew seats and
17 - modified the grab rails
Next time, I'll finish off by looking at the stern and by then, hopefully the carrying box will be finished.
Thursday, 15 September 2011
It's all in the detail (pt1)
I've got three things to do before cracking on with the Tamar, aside from a few bits of detail on the Trent. First, I have to build a box for transport, which I've just started, secondly I need to gee up my mate who's machining the trim tab rams and mounts for me, and third I have some crew figures to make.
So, with nothing boat related to report on, I thought I'd run down some of the modifications I've made to the standard kit. Some were easy, some not; some I've mentioned in earlier posts. I wanted though to put them all in one place, or rather a couple of posts, for easy-ish reference.
So, here's a list of what I have done, from the bow towards the stern:
1 reshaped the pulpit rail, it's less pointy now
2 modified the first hand rail stantion on each side
3 modified the front of the wheelhouse and built the valve recess with valve
4 reshaped the railing on the front of the wheelhouse
5 modified the bracket for the ship's bell under the front port window
6 fitted correct profile wiper boxes
7 scratch built the engineer's panel in the roof of the wheelhouse above the front consoles
8 added a solar panel
More next time...
So, with nothing boat related to report on, I thought I'd run down some of the modifications I've made to the standard kit. Some were easy, some not; some I've mentioned in earlier posts. I wanted though to put them all in one place, or rather a couple of posts, for easy-ish reference.
So, here's a list of what I have done, from the bow towards the stern:
1 reshaped the pulpit rail, it's less pointy now
2 modified the first hand rail stantion on each side
3 modified the front of the wheelhouse and built the valve recess with valve
4 reshaped the railing on the front of the wheelhouse
5 modified the bracket for the ship's bell under the front port window
6 fitted correct profile wiper boxes
7 scratch built the engineer's panel in the roof of the wheelhouse above the front consoles
8 added a solar panel
More next time...
Monday, 5 September 2011
The Devil's in the Detail
This week has seen me finish the flybridge radios and also the cables for the whip aerials.
A couple of weeks ago, I put up a photo of the component parts for the radios, well here they are all done:
I have to admit to being pleased with the result! Even the handset looks ok even though it's a simplification of the real one.
The cables for the whip aerials were a relative breeze. Having already fixed the conduits prior to painting the wheelhouse, it was just a matter of adding the photo etched sockets and then 2 lengths of cable either side. A little cheat but you can't tell...
There's not much left to do now as I'm waiting for the trim tab rams to be made up by my mate with a lathe. He's not thinking of milling the parts so I'll have to wait and see. Just a few more job that I can think of other than that: the ropes on the A frame block as well as the lights; the emergency steering gear and; a couple of small vents by the back of the wheelhouse - the latter two to be scratch built so watch this space.
More pressing though, as, hopefully, I'll be moving house soon, is building a box for the boat. So less model making in the next week or so, more cabinet making. And then, it'll be time to start the Tamar.
A couple of weeks ago, I put up a photo of the component parts for the radios, well here they are all done:
I have to admit to being pleased with the result! Even the handset looks ok even though it's a simplification of the real one.
The cables for the whip aerials were a relative breeze. Having already fixed the conduits prior to painting the wheelhouse, it was just a matter of adding the photo etched sockets and then 2 lengths of cable either side. A little cheat but you can't tell...
There's not much left to do now as I'm waiting for the trim tab rams to be made up by my mate with a lathe. He's not thinking of milling the parts so I'll have to wait and see. Just a few more job that I can think of other than that: the ropes on the A frame block as well as the lights; the emergency steering gear and; a couple of small vents by the back of the wheelhouse - the latter two to be scratch built so watch this space.
More pressing though, as, hopefully, I'll be moving house soon, is building a box for the boat. So less model making in the next week or so, more cabinet making. And then, it'll be time to start the Tamar.
Subscribe to:
Posts (Atom)